We are so eager to be out of doors that we bring out snacks our whenever we can.
Are so happy to see a bit of virgin green peaking out of the dead branches of our thyme.
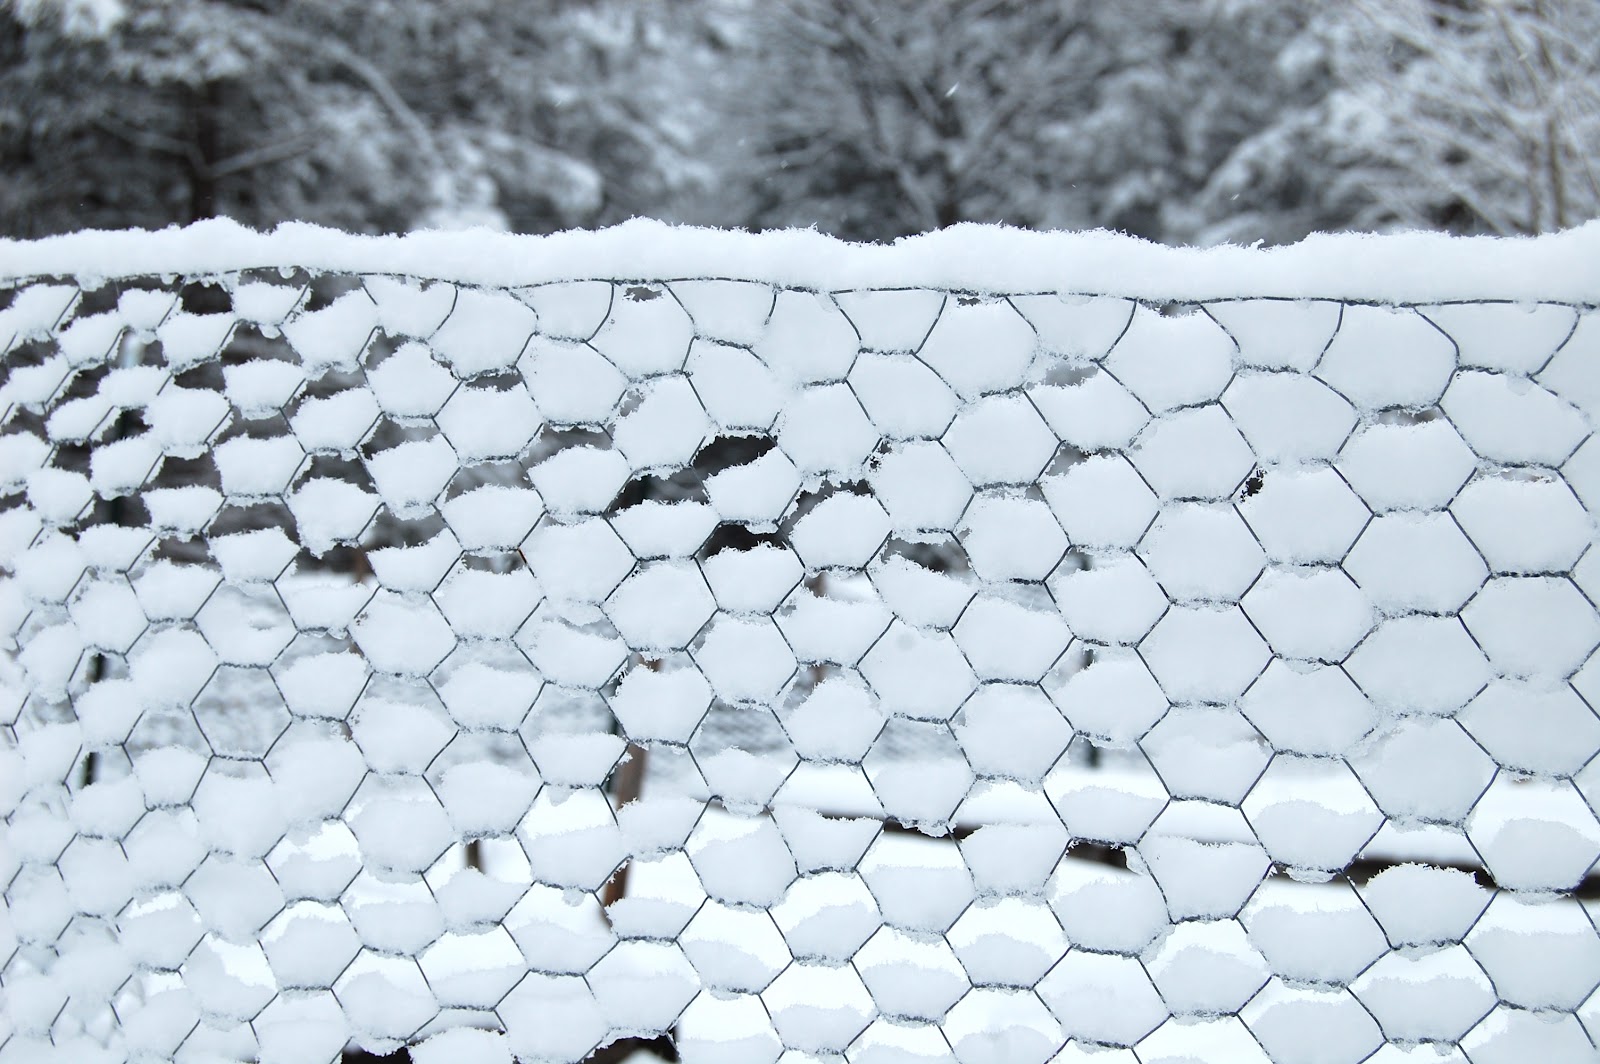
Were surprised when winter came to visit us for one last time....I think.
Are spending countless hours feeding grain to our ewe, Miss Ella, who will give birth in a few short weeks. I can hardly wait!
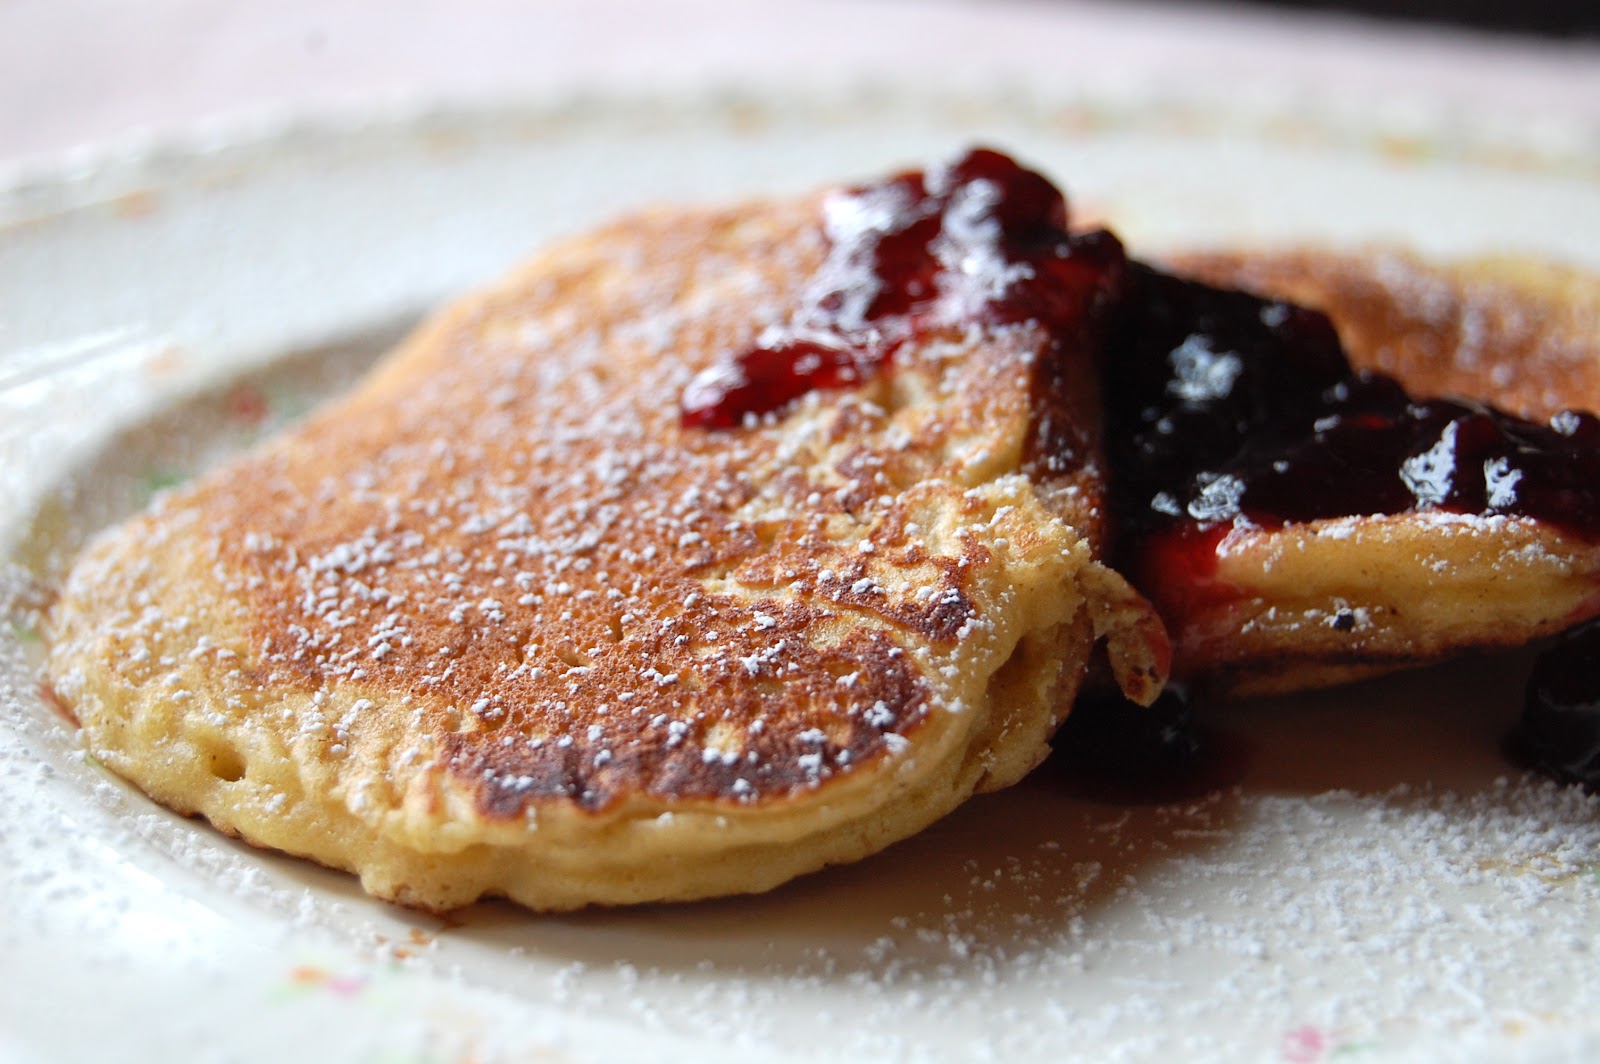
Are so, so happy that the sap is running over from our few, plump
maple trees. Maple
syrup may very well be one of my favorite things!